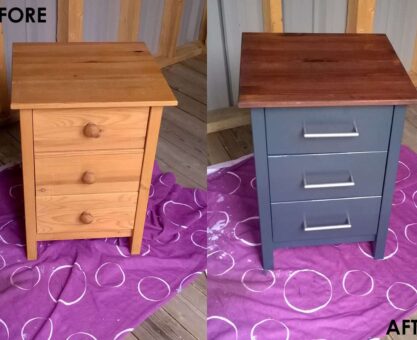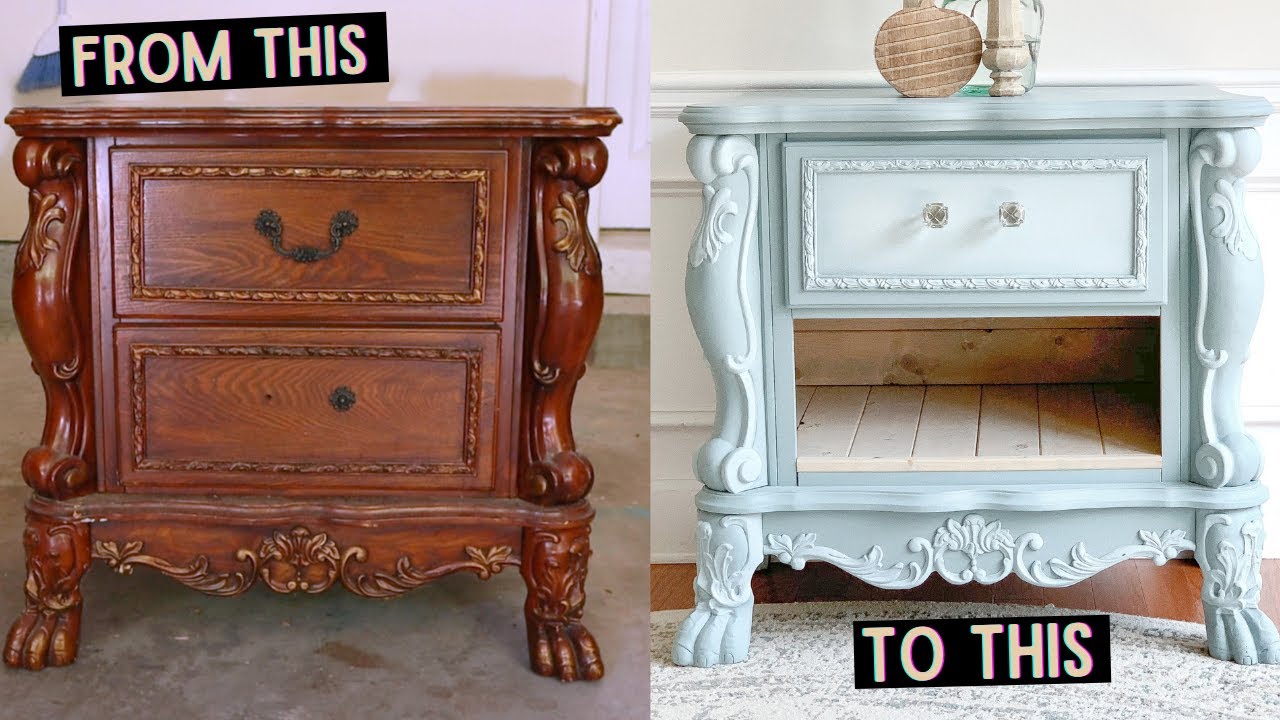
Old wood furniture holds a charm that modern pieces often lack. Whether inherited or found in a charity shop, these pieces can be transformed beautifully with a fresh coat of paint. If you’re wondering how to paint old wood furniture, this guide will take you through every step, offering practical DIY furniture makeover tips to refresh your space with style.
Why Paint Old Wood Furniture?
Painting old wood furniture is an affordable way to breathe new life into tired pieces. Instead of replacing furniture, a simple makeover can make your favourite item look brand new or fit your evolving décor. Additionally, painting allows you to personalise your furniture with colours and finishes that suit your taste.
Preparing Wood Furniture for Painting
Preparation is key to a flawless finish. Properly preparing wood furniture for painting ensures the paint adheres well and lasts longer. Here’s how to start:
- Clean Thoroughly: Remove all dust, dirt, and grease using a gentle cleaner or a mixture of warm water and mild detergent. This step is crucial as any residue will affect paint adhesion.
- Remove Hardware: Remove handles, knobs, and other hardware to make painting easier and avoid drips or missed spots.
- Assess the Surface: Look for any cracks, holes, or dents that require filling. Use wood filler for repairs and let it dry completely before sanding.
Sanding Old Furniture Before Painting
Sanding is a crucial step in the process, particularly for antique wood furniture. It smooths the surface and helps the paint stick better.
- Use medium-grit sandpaper (around 120 grit) to start removing the old finish or rough spots.
- Follow with finer grit (220 grit) to smooth the surface.
- Always sand in the direction of the wood grain to avoid scratches.
- After sanding, wipe the furniture with a damp cloth to remove dust.
If you prefer painting without stripping wood completely, light sanding is still recommended to create a rough surface for the paint to grip.
Choosing the Best Paint for Wooden Furniture
Selecting the right paint can make a significant difference in the final look and durability of your project. Here are some options:
- Chalk Paint: Popular for its matte, vintage look and minimal preparation needed. It adheres well and can be distressed easily for a shabby-chic style.
- Acrylic Paint: Water-based and easy to clean, acrylic paint offers a wide range of colours and finishes.
- Latex Paint: Durable and available in many finishes, latex is excellent for furniture but may require a primer.
- Oil-Based Paint: Hard-wearing and smooth, oil-based paints are ideal for high-traffic areas but require longer drying times and necessitate solvent cleanup.
For beginners, chalk paint and acrylic paint are usually the easiest to work with.
DIY Furniture Makeover Tips: Painting Without Stripping Wood
Not everyone has the time or tools to strip old paint or varnish completely. Here’s how you can paint without stripping wood:
- Clean and lightly sand the surface to scuff it up.
- Use a primer specifically designed for glossy or previously painted surfaces.
- Apply thin, even coats of paint, allowing sufficient drying time between layers.
- Finish with a protective clear wax or varnish for durability.
This method saves effort but still delivers excellent results with the right materials.
Furniture Paint Techniques for Beginners
If you’re new to painting furniture, try these simple techniques to achieve a professional look:
- Brush Strokes: Use high-quality brushes and paint in long, smooth strokes that follow the natural grain of the surface.
- Rollers: For larger, flat surfaces, small foam rollers provide a smooth finish.
- Distressing: Once painted, gently sand edges and corners for a worn, vintage effect.
- Layering: Apply two or more colours for a unique layered look or create patterns with stencils.
- Sealing: Always seal your painted furniture with wax, polyurethane, or varnish to protect the surface.
How to Paint Old Wood Furniture
- Prepare the Area: Work in a well-ventilated area. Lay down drop cloths to protect your floors.
- Remove Hardware: Unscrew the handles and knobs.
- Clean the Furniture: Use a damp cloth and a mild detergent.
- Fill Any Imperfections: Use wood filler to fill holes and cracks; sand once it is dry.
- Sand the Surface: Start with medium-grit sandpaper and finish with fine-grit sandpaper.
- Apply Primer: Select a primer specifically designed for use on wood or glossy surfaces.
- Paint the Furniture: Apply thin, even coats of paint. Allow each coat to dry completely before applying the next one.
- Distress (Optional): Lightly sand the edges for a vintage look.
- Seal the Paint: Apply a protective topcoat, such as clear wax or varnish.
- Reattach Hardware: Screw handles and knobs back into place once dry.
Caring for Painted Wooden Furniture
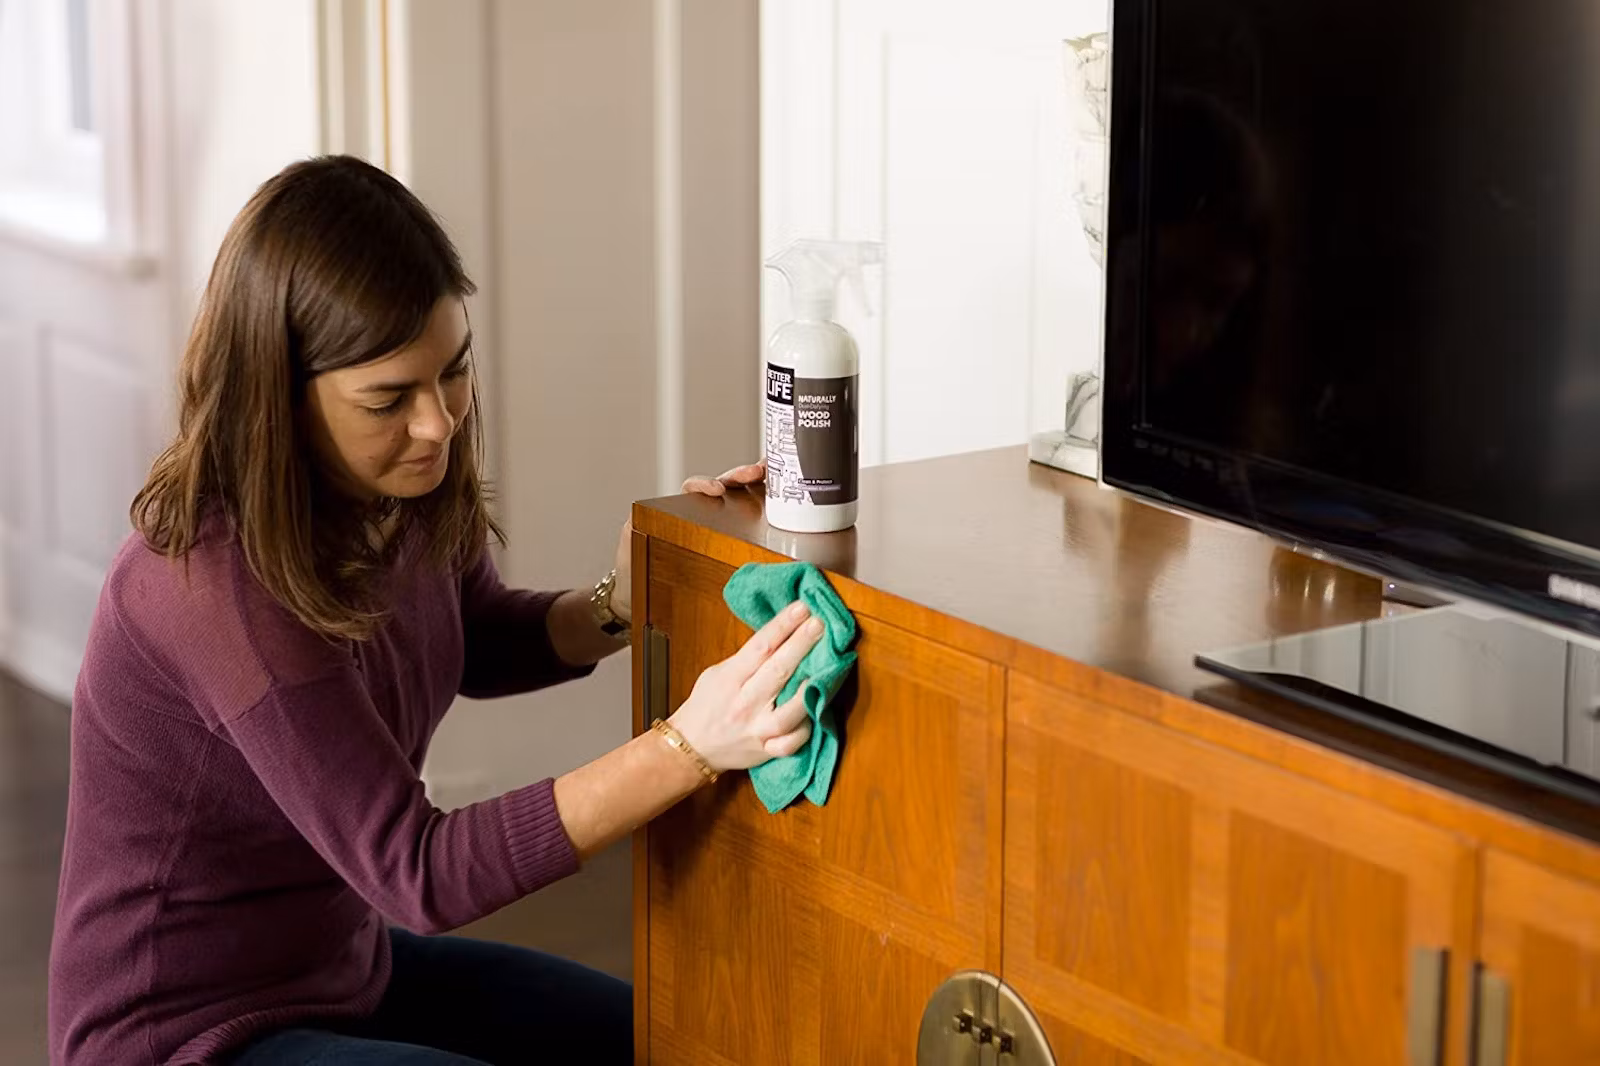
- To keep your painted furniture looking fresh:
- Avoid harsh cleaning chemicals.
- Dust regularly with a soft cloth.
- Use coasters and placemats to prevent scratches and stains.
- Reapply wax or protective sealant annually or as needed.
Frequently Asked Questions
How can I paint old wood furniture without sanding it?
You can lightly sand the surface to roughen it, then apply a bonding primer before painting. This creates a surface for the paint to adhere to, requiring complete sanding.
What is the best paint for wooden furniture?
Chalk paint and acrylic paint are excellent choices for beginners due to ease of use and beautiful finishes. For durability, oil-based paints are wonderful, but they require more preparation.
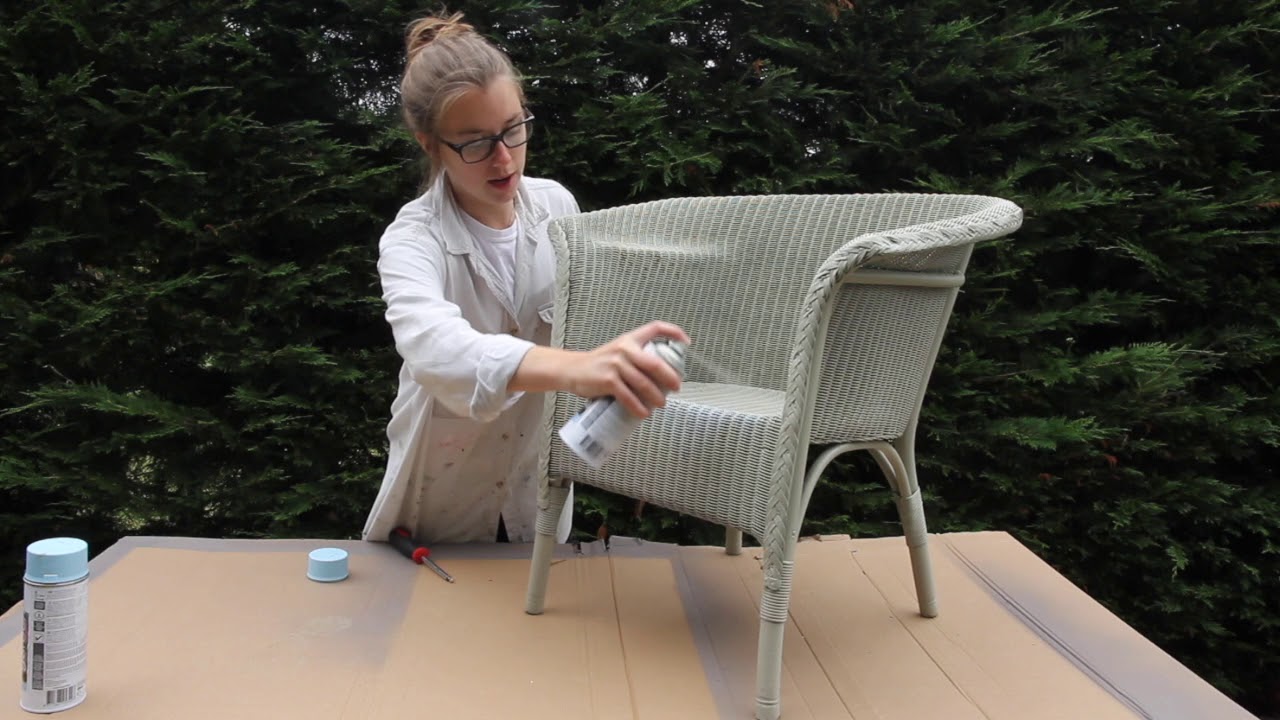
Can I paint furniture outdoors?
Yes, but ensure the paint is suitable for outdoor use, and the weather is dry. Use protective sealants designed for outdoor furniture.
How long should I wait between coats of paint?
Usually, 2-4 hours for water-based paints and up to 24 hours for oil-based paints. Always check manufacturer instructions.
What are the best DIY furniture makeover tips for beginners?
Start with thorough cleaning and sanding, use a primer, apply thin coats of paint, and finish with a clear protective sealant. Take your time to let each step dry fully.