If you’re wondering how to paint pine wood furniture, you’re not alone. Pine is a popular choice for home furnishings due to its affordability, rustic charm, and versatility. However, painting pine wood can be a bit tricky, especially if the furniture has knots, stains, or an existing finish. With the right preparation and technique, though, you can transform tired or outdated pine pieces into stylish statement furniture that complements any room in your home.
Whether you’re tackling a vintage chest of drawers, a coffee table, or a simple bookcase, this guide will walk you through every step of the process. We’ll explore everything from preparing pine wood for paint to choosing the best paint for pine furniture, as well as tips for achieving a smooth, professional finish.
Why Paint Pine Furniture?
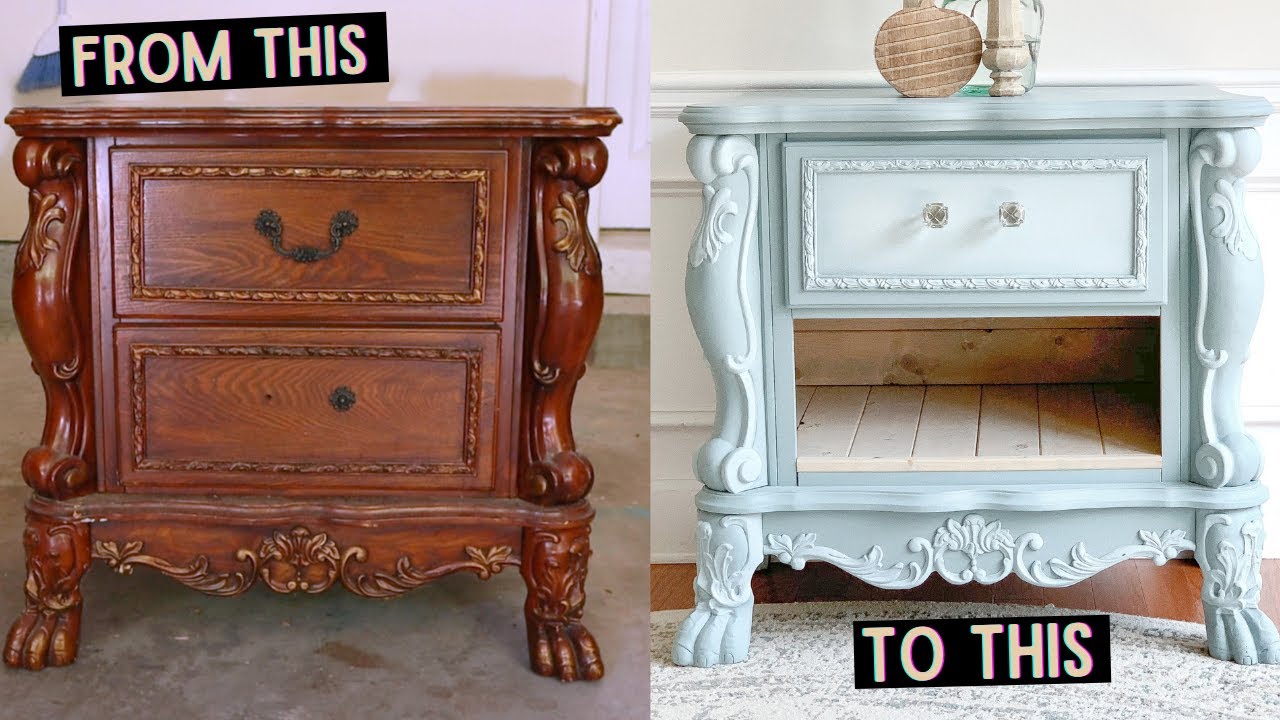
Pinewood, while durable and attractive in its natural state, can sometimes look dated or out of place in a modern setting. Rather than replacing your furniture, giving it a fresh coat of paint is a cost-effective and rewarding way to breathe new life into it. A DIY pine furniture makeover allows you to personalise your interiors while keeping your budget intact.
Moreover, pine accepts paint beautifully when properly prepared. Painted pine furniture can brighten a room, add a pop of colour, or create a cohesive look if you’re blending old pieces with newer décor.
What You’ll Need
Before you begin painting, it’s important to gather all the necessary tools and materials. Here’s a helpful list:
- Mild detergent or wood cleaner
- Fine-grit sandpaper (120 to 220 grit)
- Wood filler (if needed)
- Primer for pine furniture
- Paintbrushes and rollers
- Microfibre cloth or tack cloth
- Painter’s tape
The best paint for pine furniture (latex, chalk paint, or enamel-based)
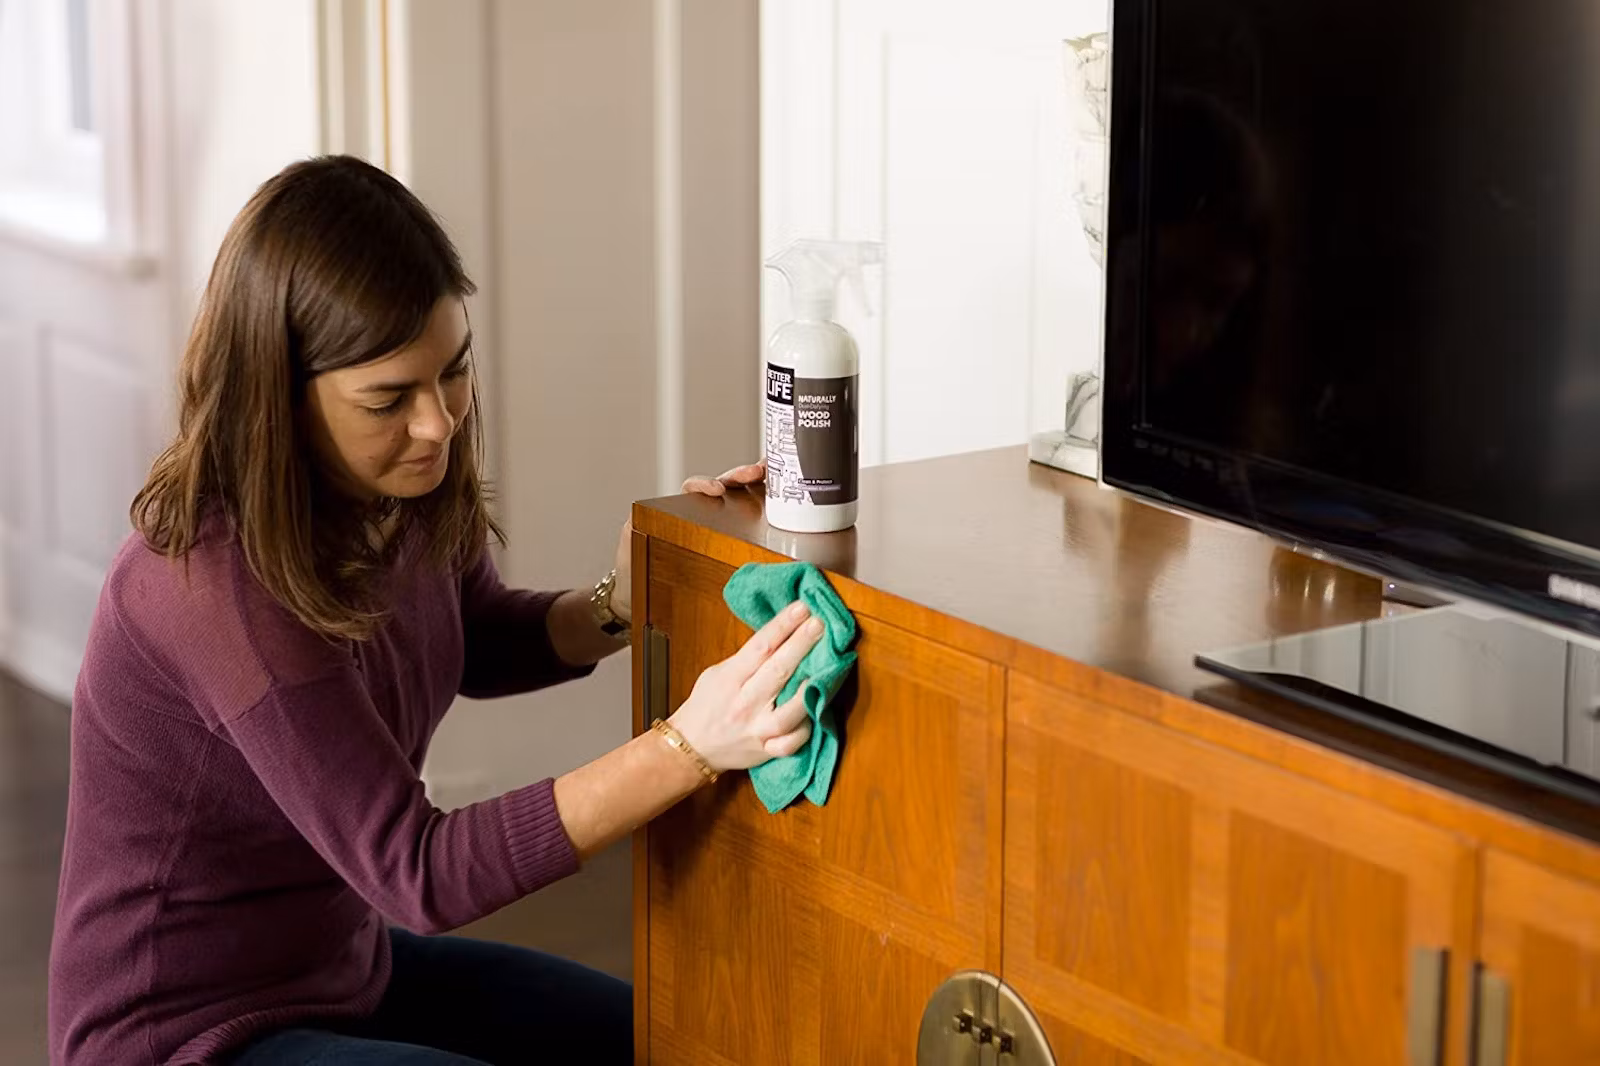
Clean the Surface Thoroughly
Start by thoroughly cleaning your furniture. Use a mild detergent or specialised wood cleaner to remove any dirt, grease, or old wax. This step is crucial because paint won’t adhere well to surfaces contaminated with residue.
Once the furniture is clean, allow it to dry completely before moving on.
Inspect and Repair
Look over your piece of furniture for dents, deep scratches, or cracks. Pine is a softwood and can dent easily over time. Use a good-quality wood filler to patch any imperfections. Let the filler dry fully, and then sand it smooth.
This is also a good time to remove or mask off hardware such as handles and hinges using painter’s tape.
Sand the Surface
Preparing pine wood for painting requires sanding, even if the surface appears smooth. Use fine-grit sandpaper (around 150 to 220 grit) to scuff the surface gently. This helps the primer and paint adhere better.
Be sure to sand in the direction of the wood grain and wipe away dust with a tack cloth or microfibre cloth after sanding.
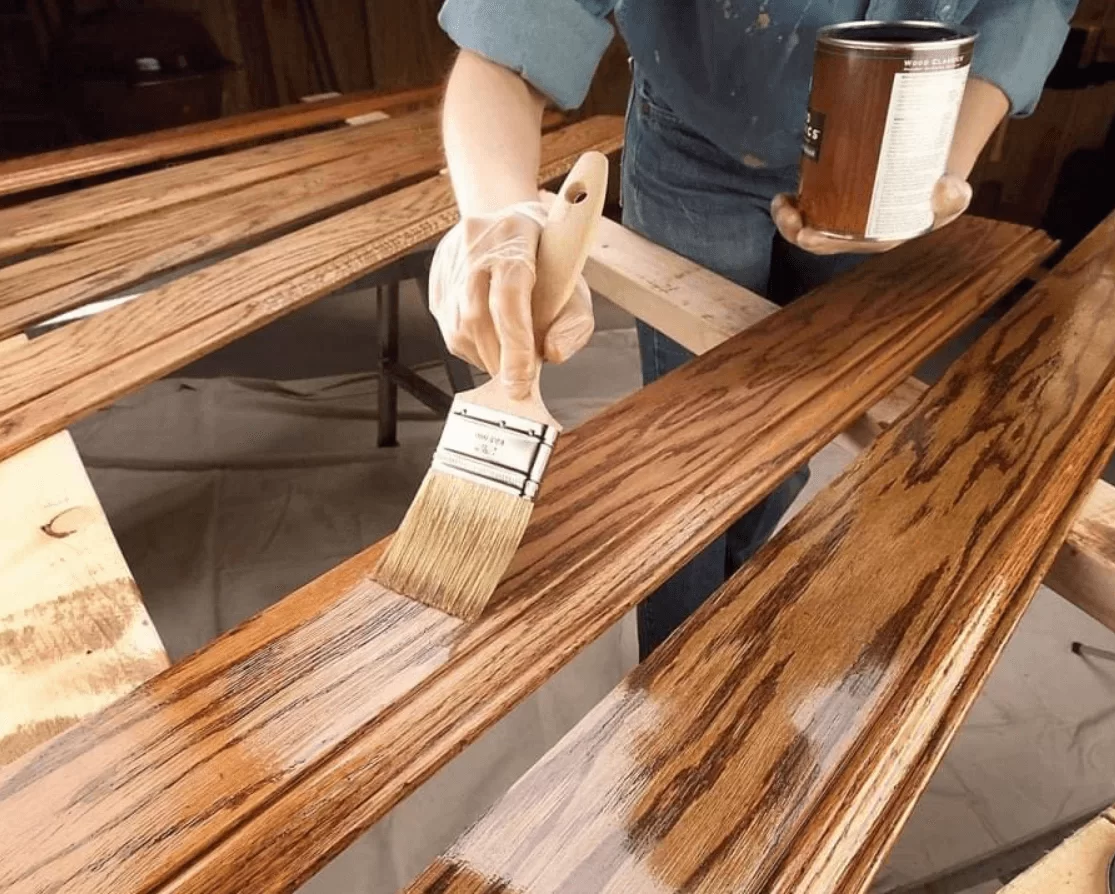
Address Knots and Stains
Pine furniture often contains knots, which can bleed through paint and cause yellowing or discolouration over time. To prevent this, apply a stain-blocking primer for pine furniture that is specifically designed to seal knots and tannins.
If you’re painting over stained pine wood, it’s even more important to use a shellac-based or oil-based primer. These provide the best adhesion and prevent any residual stain from bleeding through the new paint.
Apply one or two coats of primer and let it dry completely according to the manufacturer’s instructions.
Choose the Right Paint
- Selecting the best paint for pine furniture depends on the look and durability you’re aiming for.
- Chalk paint is a favourite for shabby chic or rustic styles. It adheres well to most surfaces and requires minimal prep.
- Latex paint offers a smooth finish and is easy to clean, making it ideal for high-traffic areas.
- Enamel-based paint provides a hard, durable surface that’s perfect for furniture expected to get frequent use.
- Consider a satin or semi-gloss finish for durability and easy cleaning. Avoid matte finishes unless you plan to seal the furniture with a clear topcoat.
Apply the Paint
Now, the fun part begins! Use a good-quality brush or foam roller for a smooth application. Start with thin, even coats, and allow each coat to dry fully before applying the next.
If you’re using chalk paint, two coats are usually enough. For latex or enamel, you might need three coats, depending on the colour and coverage.
Sand Between Coats (Optional)
For an ultra-smooth finish, lightly sand between coats using 220-grit sandpaper. This step helps eliminate brush strokes and rough spots. Be sure to wipe away any dust before applying the next coat.
Finish with a Protective Coat (Optional but Recommended)
To protect your newly painted pine furniture, especially for pieces that will see a lot of use (like dining tables or desks), apply a clear sealer. Polycrylic is a popular choice for latex-painted furniture, while furniture wax is suitable for chalk-painted pieces.
This protective layer helps your finish last longer and makes cleaning easier.
Painting Techniques for Wooden Furniture
Here are some advanced painting techniques for wooden furniture to elevate your DIY project:
- Distressing: Lightly sand edges and corners after painting for a rustic, aged look.
- Two-tone finish: Paint the body one colour and leave the top natural or stained for contrast.
- Dry brushing: Use a nearly dry brush with minimal paint to create texture and highlight wood grain.
- Ombre effect: Blend two or more shades of paint to create a gradient finish.
- Stencil detailing: Add a pattern or design for a personalised touch.
Common Mistakes to Avoid
- Skipping the primer: This can lead to poor adhesion and paint peeling.
- Painting too thickly: Thick coats can cause drips and longer drying times.
- Not allowing paint to cure: Furniture should be left to cure fully (sometimes up to a week) before heavy use.
- Using the wrong type of paint: Not all paints are made for furniture. Make sure it’s durable and appropriate for the surface.
Caring for Your Painted Pine Furniture
Once your furniture is painted and fully cured, care is simple. Clean it with a damp cloth and avoid harsh chemicals. Add felt pads to the bottom of items placed on top to prevent scratching. If you notice any chips or scratches, touch them up promptly to maintain a fresh look.
DIY Pine Furniture Makeover Ideas
If you’re inspired to give more pieces a facelift, here are some fun makeover ideas using the steps above:
- Turn an old pine dresser into a nursery-changing table with soft pastel chalk paint.
- Revamp a tired pine coffee table into a stylish centrepiece with bold colours and modern handles.
- Transform a pine bedside table into a sophisticated black-and-gold statement piece.
- With a little creativity and elbow grease, even the most outdated pine furniture can become a stunning feature in your home.
Frequently Asked Questions
What is the best paint for pine furniture?
The best paint depends on your desired finish. Chalk paint is great for a vintage look, latex is ideal for smooth finishes, and enamel-based paints are best for durability. Choose a type that suits both your style and usage.
Can I paint over stained pine wood without sanding?
While it’s possible with chalk paint, it’s always better to lightly sand the surface for better adhesion. If the wood is stained, using a stain-blocking primer is crucial to prevent bleed-through.
Do I need a primer for pine furniture?
Yes, especially if the pine is knotty or stained. A good primer seals the surface and provides a base for the paint to adhere to, resulting in a smoother and longer-lasting finish.
How long should I wait between coats of paint?
Drying time depends on the type of paint used, but generally, wait 2–4 hours between coats. Always refer to the paint manufacturer’s guidelines.
Is it worth doing a DIY pine furniture makeover?
Absolutely! It’s a cost-effective way to refresh your home décor, personalise your furniture, and reduce waste. Plus, it’s a satisfying and creative project.